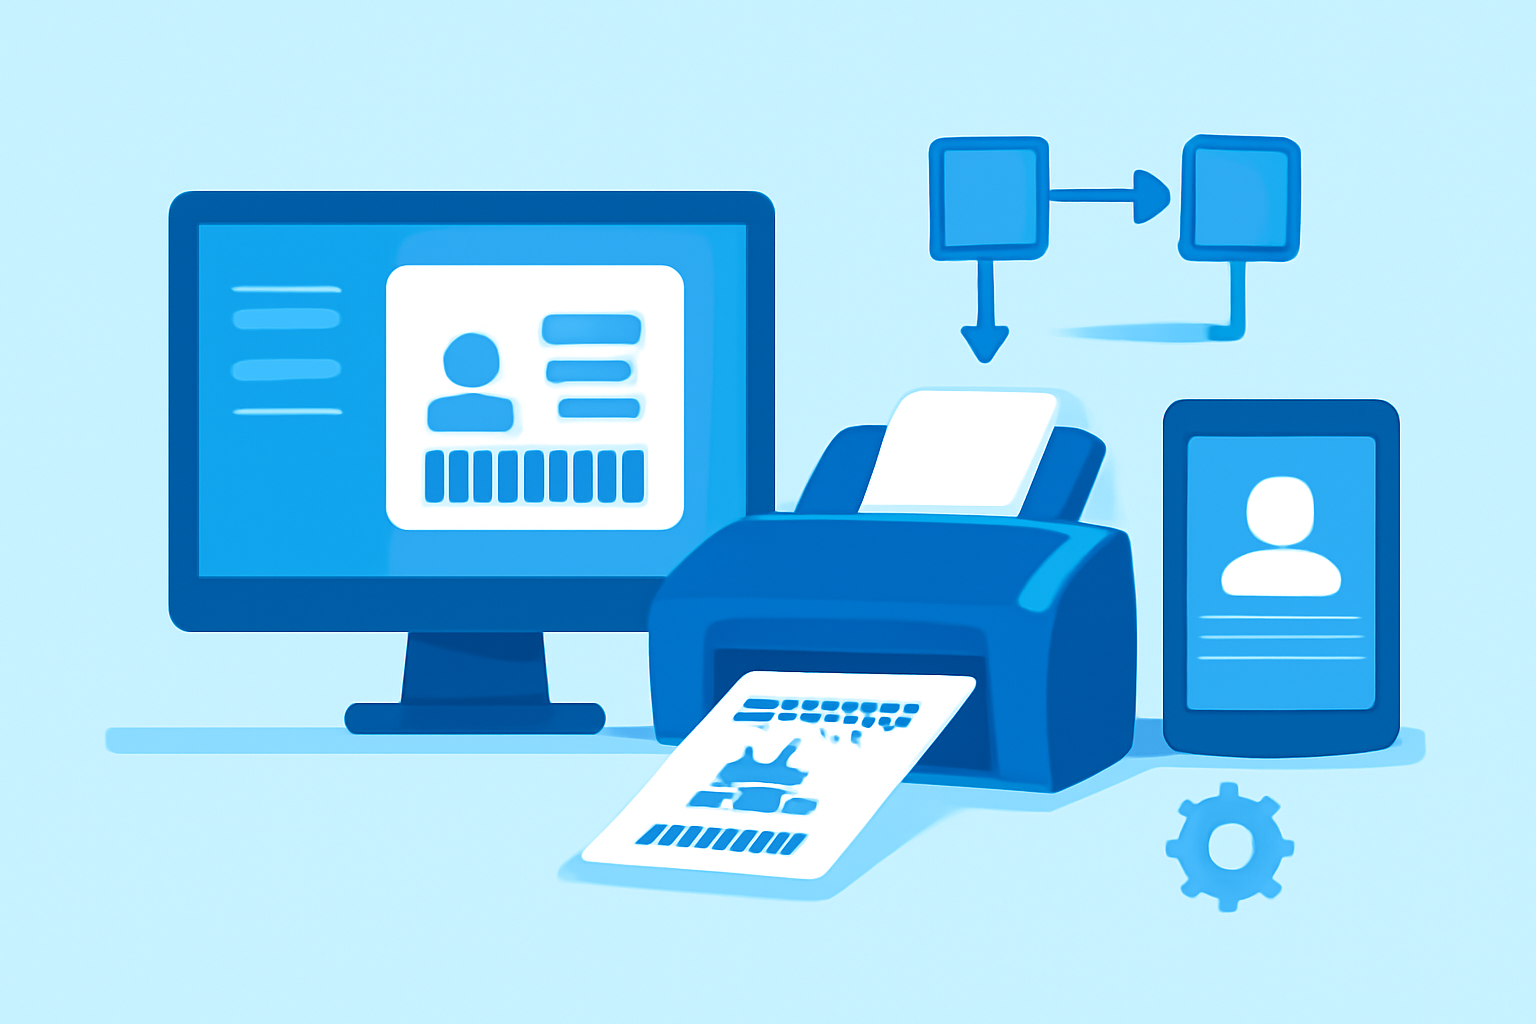
Modern visitor management isn’t about clipboards and paper logbooks anymore—it’s a coordinated workflow involving thermal badge printers, database systems, and real-time notifications that tell your team when a guest has arrived. A proper temporary badge printing solution combines hardware (typically a direct-to-card or thermal printer), template design software, visitor tracking databases, and integration hooks into your existing communication infrastructure. Done correctly, it turns front-desk chaos into a process that prints a professional-looking badge in under 30 seconds while automatically logging compliance data.
Designing Visitor Badge Templates That Stand Out
Your visitor badge template needs to communicate three things instantly: visitor status, date validity, and host contact. I’ve tested dozens of ID card design applications, and the most effective visitor badges use high-contrast colour coding—bright orange or yellow backgrounds that visually distinguish guests from permanent employees at twenty feet. This isn’t aesthetic preference; it’s functional security design.
Most offices use Zebra CardStudio or Evolis Premium Suite for badge templates. That said, if you’re running a small operation with under 50 visitors monthly, the bundled software that ships with Fargo HDP5000 or Evolis Primacy printers handles 90% of use cases. The key elements to include: large “VISITOR” text (36pt minimum), expiration date in DD/MM/YYYY format, a barcode or QR code linking to the visitor record, and the host employee’s name—not their mobile number, which creates privacy issues.
Photo capture matters more than most teams realize. A front-facing webcam integrated into your check-in kiosk should snap a headshot during registration, then automatically crop and position it on the badge template. This takes manual alignment out of the equation. Logitech C920 or C930e webcams work reliably with most visitor management platforms without driver headaches. Skip the fancy portrait background removal features unless you’re running a corporate headquarters; they add 8-10 seconds to print time and rarely work properly with varied lighting conditions.
For barcode integration, stick with Code 128 or QR codes. Code 39 wastes horizontal space on a credit-card-sized badge. Your barcode should encode a unique visitor ID that ties back to your tracking database, not personally identifiable information like passport numbers. I typically place barcodes in the bottom-right corner at 15mm width—large enough for handheld scanners to read reliably, small enough not to dominate the design. If you’re managing equipment checkout alongside visitor tracking, consider reviewing barcode systems for equipment checkout for workflow crossover opportunities.
Template version control becomes critical once multiple staff members start editing designs. Export your finalized templates as locked PDFs or proprietary formats (.crd for CardStudio, .evolis for Evolis Suite) and store them on a shared network drive with read-only permissions for reception staff. This prevents well-meaning admin assistants from “improving” your carefully sized barcode and breaking scanner compatibility.
Automated Check-In and Badge Printing Workflows
The gold standard workflow: visitor arrives, enters details on a tablet kiosk, photo captures automatically, badge prints from a networked thermal printer within 20 seconds, and the host employee receives an SMS or Slack notification. Achieving this requires careful hardware placement and network configuration that most IT departments overlook during initial setup.
Your check-in kiosk needs to be a dedicated device—typically a 10" Android tablet in a floor-standing enclosure or a small-form-factor Windows PC with touchscreen. iPad-based solutions look sleek but introduce unnecessary complexity with AirPrint configuration for badge printers. I’ve had better luck with Windows 10 IoT or Android kiosks running apps like Envoy, Proxyclick, or SwipedOn. These platforms handle the front-end interface while communicating directly with thermal printers via USB or Ethernet.
Printer placement is where most implementations fail. Your badge printer must sit within 1.5 metres of the kiosk to avoid cable runs that create trip hazards or require conduit installation. For thermal printers like the Zebra ZD420t or Brother QL-820NWB, USB connection is more reliable than WiFi—I’ve seen too many dropped jobs when reception areas have marginal wireless coverage. Direct-to-card printers need physical access for ribbon changes, so don’t mount them inside locked cabinets that require facilities staff to open.
Pre-registration workflows drastically reduce lobby congestion. If your organization hosts regular meetings or training sessions, implement a web form that captures visitor details 24-48 hours in advance. This pre-populates the database, reduces kiosk interaction time to photo capture and legal acknowledgment, and lets you print badges before guests arrive. Many platforms support email invitations with QR codes that visitors scan at the kiosk to retrieve their pre-loaded record.
For offices managing both permanent staff and contractors, establishing clear temporary contractor badge workflows prevents confusion between short-term visitors and extended-access personnel. Contractors typically need badges that remain valid for weeks rather than a single day, which requires different expiration logic in your printing templates.
Database syncing between your check-in system and badge printer happens via local network or cloud APIs. Cloud-based systems (Envoy, Traction Guest) handle this automatically but introduce latency—typically 3-5 seconds between registration completion and print job submission. On-premises systems using direct database connections (Microsoft Access or SQL Server backends) print faster but require more IT involvement for setup. For small offices, the cloud trade-off is worth the convenience.
Tracking Visitor Data and Compliance Requirements
Every visitor badge print should generate a database entry containing arrival time, host employee, purpose of visit, expected departure time, and actual sign-out timestamp. This audit trail isn’t paranoia—it’s a legal requirement in regulated industries and a liability shield if incidents occur on your premises. Your visitor management system needs to retain this data for a minimum period defined by your jurisdiction; in the UK, ICO guidelines typically require 6-12 months for general business visitors, longer for construction sites or facilities with security clearances.
The data capture form needs to walk a line between completeness and friction. Minimum required fields: full name, company/organization, host employee, purpose of visit, and legal acknowledgment (typically a checkbox confirming they’ve read your site safety rules). Optional but useful: mobile number for emergency contact, vehicle registration if you manage parking, and photo ID type/number for high-security environments. Requiring passport numbers for a casual office visitor creates unnecessary resistance—save that level of detail for datacentres or pharmaceutical facilities.
GDPR and data protection compliance means your system must support automatic purging of visitor records after your retention period expires. Most modern platforms include scheduled deletion jobs, but verify this feature actually works—I’ve audited systems that claimed automatic deletion but had three years of visitor photos sitting in an unencrypted folder on a Windows file share. Visitor photos and personal details should be stored with encryption at rest and restricted access controls limiting retrieval to authorized personnel only.
Sign-out tracking is the feature everyone skips until a safety audit flags it. Your system should prompt visitors to return badges at departure and log exit timestamps. Automated sign-out via badge barcode scanning at exit points works well if you have controlled egress, but most offices rely on reception staff to manually check visitors out. For high-traffic environments, consider implementing a badge return box with a barcode scanner that automatically timestamps returns—this removes reliance on staff remembering to update records.
Integrating Visitor Management with Communication Platforms for Notifications
Real-time host notifications transform visitor management from a check-in ritual into an active communication tool. When your visitor completes registration, your host employee should receive an instant alert via their preferred channel—SMS, email, Slack, Microsoft Teams, or increasingly, virtual phone system integrations that route notifications through eSIM-based virtual numbers. This eliminates the awkward reception desk phone call: “Your visitor is here, can you come get them?”
Most modern visitor management platforms include webhook support or pre-built integrations with common communication tools. Envoy, for example, offers native Slack integration that posts visitor arrival notifications to designated channels or direct messages. This works brilliantly for open-plan offices where employees might not be at their desks—they get a mobile notification wherever they are in the building. For Microsoft-centric organizations, Teams integration via Power Automate connectors achieves similar results with less configuration complexity.
SMS notifications remain the most reliable method because they don’t depend on app installs or corporate network connectivity. Twilio and similar services provide the backend infrastructure most visitor systems use for text alerts. The message should include visitor name, arrival time, and a quick action link to view the visitor’s photo and details. Keep messages under 160 characters to avoid multi-part SMS fragmentation: “Jane Smith from Acme Corp has arrived. View details: [short URL]” works better than verbose corporate templates.
Email notifications work as a fallback but suffer from delivery delays and inbox clutter. If you implement email alerts, configure them to send from a recognizable address like visitors@yourcompany.com rather than noreply addresses that land in spam folders. Include the visitor’s photo inline in the email body—this helps hosts identify unfamiliar guests in busy lobbies without having to describe clothing over the phone.
For organizations managing sensitive facilities, two-way communication matters. Some platforms allow hosts to approve or deny visitor entry before badge printing occurs, adding an authentication step for unannounced guests. This requires your notification system to support response actions—typically via SMS reply codes or clickable buttons in Slack/Teams messages that update the visitor record in real-time.
Integration with physical access control systems closes the loop on visitor tracking. If your office uses RFID or NFC badge readers for door access, your visitor management system should provision temporary credentials encoded onto the printed badge. This requires compatibility between your badge printer (must support encoding, not just printing), your access control system (Honeywell, Lenel, AMAG), and your visitor platform. The technical setup isn’t trivial—you’ll need your IT security team involved—but the result is a visitor badge that actually unlocks the doors they need to access without issuing permanent credentials.
Frequently Asked Questions
Q: What’s the realistic cost for implementing a visitor badge printing system in a small office with 10-15 visitors per week?
For that volume, expect £800-1,200 for a basic thermal badge printer (Brother QL-820NWB or Zebra ZD420t), £200-300 for a check-in tablet with kiosk stand, and £15-30 monthly for cloud-based visitor management software (Envoy, SwipedOn, or Proxyclick offer tiered pricing). Badge media costs about £0.08-0.15 per print depending on whether you use pre-printed or thermal-direct stock. If you’re already using ID card printers for employee badge design, you can often repurpose that hardware for visitor badges by creating separate templates, avoiding additional printer purchases.
Q: How do visitor management systems handle data privacy for international guests or contractors who need frequent access?
Most platforms support data residency controls that store visitor information in specific geographic regions to comply with GDPR, CCPA, or other local regulations. For frequent contractors, create separate “regular visitor” profiles that pre-populate details on subsequent visits without requiring full re-entry, while still capturing unique arrival timestamps. These profiles should have explicit consent checkboxes acknowledging data retention policies. For high-compliance environments like healthcare or finance, look for systems that support pseudonymization—storing identifiable details separately from audit logs to minimize exposure. Check whether your platform’s data processing agreement (DPA) covers third-party visitors, not just your direct employees, because many standard contracts overlook this detail.