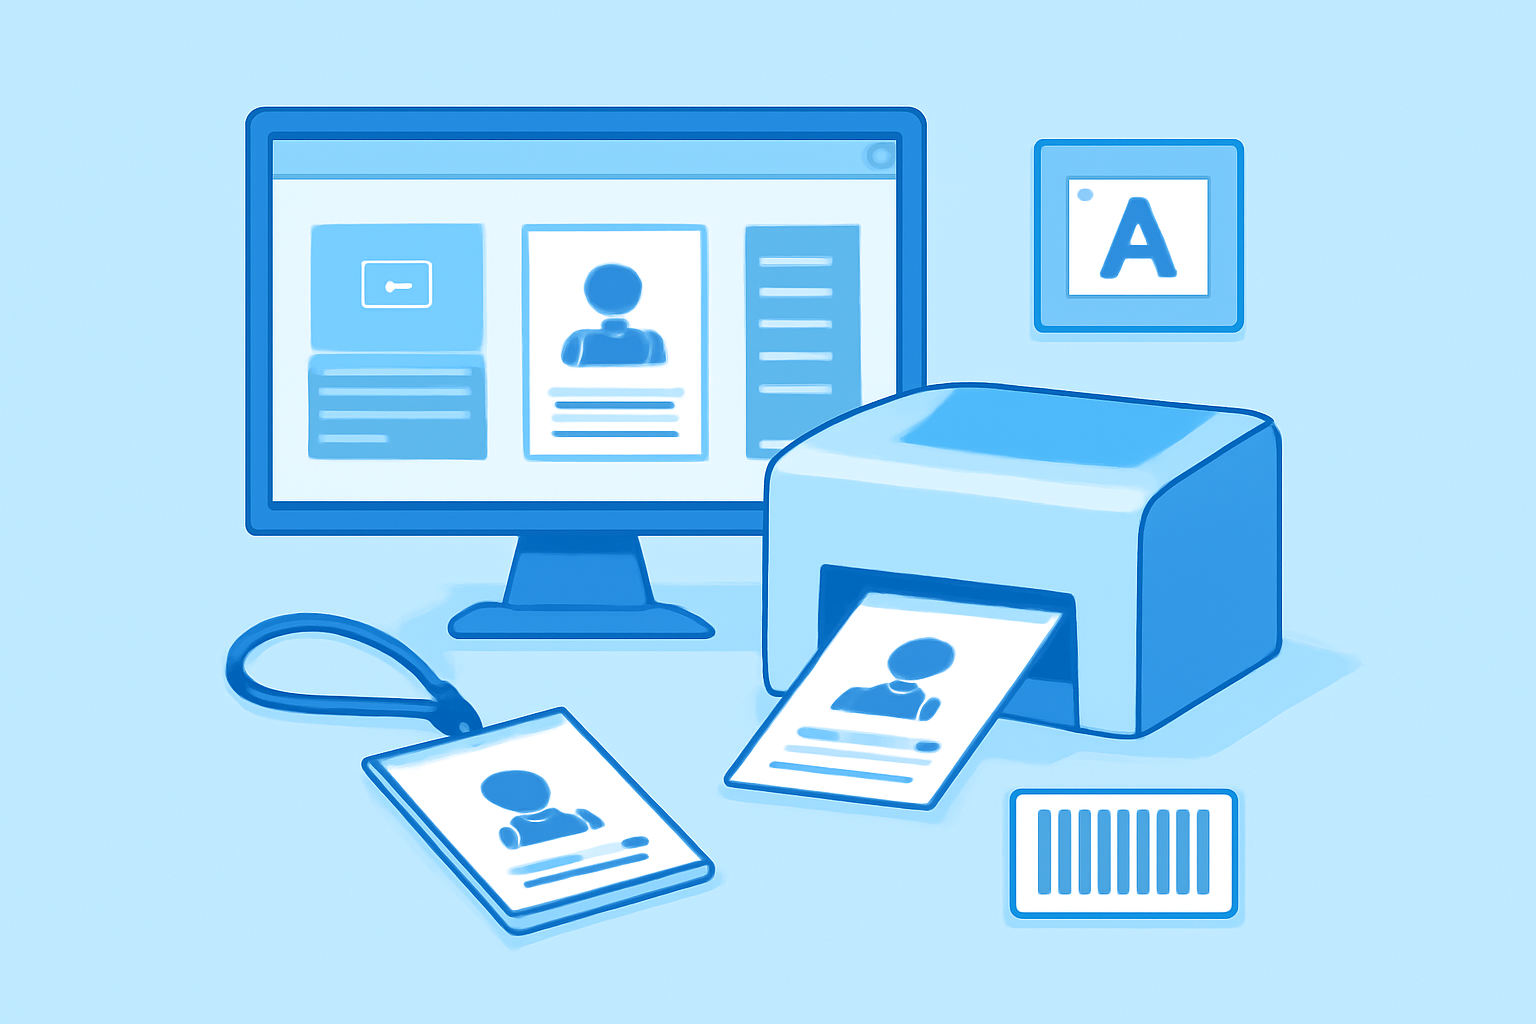
If you’re running corporate training sessions, quarterly meetings, or industry conferences, you need badges ready at check-in—not three days later. On-demand badge printing means printing name badges as attendees arrive, using desktop software connected to your registration database. Most setups use a standard ID card printer (Zebra ZC300, Fargo DTC1250e), a Windows laptop running badge design software, and a CSV export from your event platform. Print times range from 8-15 seconds per badge depending on complexity and printer model.
Planning Badge Requirements for Different Event Types
Your badge strategy changes dramatically based on event size and duration. A 40-person internal training session needs basic name/company badges with minimal design—often printed in advance from your employee badge design workflows. Multi-day conferences with 500+ attendees require session access codes, meal vouchers encoded in barcodes, and sometimes RFID chips for entry tracking.
For corporate meetings under 100 people, standard CR80-size PVC cards work fine. Budget £0.80-£1.20 per badge including card stock and ribbon. If you’re printing 300+ badges, consider adhesive badge stock instead—it’s cheaper (£0.15-£0.30 per unit) and faster, though less durable. PVC cards feel more professional for external conferences, while adhesive badges make sense for internal quarterly reviews where people discard them after four hours.
Include variable data fields: attendee name, company, job title, QR code linking to contact details. For networking-heavy events, add a colour-coded border or icon indicating department or interest track—it helps people spot relevant connections across a crowded hall. Most badge software (CardExchange, BadgeMaker, ID Flow) supports conditional formatting where you assign colours automatically based on registration category.
On-Site Printing Stations and Equipment Needs
You’ll need a dedicated check-in station with reliable power and network access. Standard setup: one direct-to-card printer (Zebra ZC300 is the workhorse—£1,200-£1,500 new), a Windows 10/11 laptop with 8GB RAM minimum, and the badge design template pre-loaded. The printer connects via USB, though some newer models support Ethernet for multi-station setups.
Ribbon capacity matters more than you’d think. A YMCKO ribbon cartridge prints roughly 200 full-colour badges. If you’re expecting 400 attendees, bring three ribbons—always have spares. Card jams happen, usually from humidity or bent cards in the hopper. Keep 20-30 extra blank cards accessible and a microfiber cloth for cleaning the printhead between ribbon changes.
For events over 300 people, run two printing stations to avoid bottlenecks. Position them at opposite ends of the registration desk. Each station needs its own laptop and printer, both connected to the same registration database—either via shared network drive or cloud sync (Dropbox, OneDrive work fine for real-time CSV updates). Print speed on the ZC300 averages 12 seconds per single-sided badge, 23 seconds for dual-sided with encoding.
Software choice depends on complexity. If you’re just printing names and companies, Adobe Illustrator with a data merge plugin works. For barcode generation, RFID encoding, or automatic photo cropping, you need dedicated badge software. ID Flow 7 (around £800 for a single license) handles variable data merges cleanly and includes drivers for most common printers. CardExchange Producer is overkill unless you’re printing credentials with magnetic stripes or smart chips.
Name Badge Design for Networking Events
Readable from two metres away—that’s the test. Use 24pt minimum for names, 16pt for titles and companies. Sans-serif fonts (Arial, Helvetica, Open Sans) beat serif options at small sizes, especially under conference hall lighting. Calibri at 28pt outperforms Times New Roman at 32pt for quick recognition.
Limit text to four lines maximum: name, title, company, optional location or track identifier. Anything more gets ignored. Place the name in the top third of the badge—eye level when clipped to a lanyard. Company name goes below in a smaller weight. If you’re including headshots, position them left-aligned with text wrapping right. Photos should be 600×600px minimum at 300 DPI to avoid pixelation on PVC cards.
Colour psychology matters for quick categorization. Speaker badges get a red accent border, sponsors get gold, general attendees blue, and staff green. This system lets security and organizers identify people’s roles instantly without reading fine print. Avoid pure black backgrounds—they show fingerprints and scratches badly. Dark navy or charcoal grey looks professional and hides wear better.
QR codes are standard now for contact exchange. Generate them dynamically from your registration data—each code links to the attendee’s vCard or LinkedIn profile. Size the QR code at least 2cm × 2cm for reliable smartphone scanning. Position it in the bottom-right corner where it won’t interfere with the name. Test every QR code before the event—one conference had 60 badges with truncated URLs because the data field had a character limit nobody checked.
Data Collection and Integration with Registration Systems
Your badge printing software needs a live connection to registration data. Most event platforms (Eventbrite, Cvent, Whova) export attendee lists as CSV files. Set up a workflow where the CSV auto-updates every 10 minutes during active registration periods. This catches last-minute sign-ups and ticket purchases.
Map your CSV columns correctly: first name, last name, company, title, email, registration category. Badge software uses these fields for variable data printing. Email addresses become QR codes, registration categories trigger colour rules. If your visitor management systems already track attendee data, export from there directly—no need to maintain parallel databases.
Barcode each badge with a unique identifier. Use Code 128 or QR codes—both scan reliably with standard equipment. This barcode ties the physical badge to the attendee record, enabling session tracking if you’re monitoring attendance for CPD credits or compliance reporting. Position the barcode on the back of the badge if you’re tight on front-side real estate. Some clients use the barcode as the primary identifier and skip names entirely for privacy-sensitive events.
Pre-registration solves 80% of check-in delays. Email attendees three days before the event asking them to confirm details and upload a headshot if required. This front-loads the data validation. On event day, you’re just printing confirmed records—not troubleshooting typos or missing information. Keep a “walk-in” template ready for unregistered arrivals: blank fields for hand-written details if your printer queue backs up.
Follow-Up Communication After Events Using Digital Contact Methods
Badge data becomes your post-event contact list. Export the attendee database immediately after the event—include timestamps if you tracked session attendance via barcode scans. Segment your follow-up based on engagement level: people who attended three+ sessions get different messaging than those who showed for one keynote.
Most organizations now use digital communication channels rather than traditional phone trees for post-event outreach. If your team manages remote attendees or hybrid events, pairing badge data with virtual phone systems lets you route follow-up calls through dedicated event numbers. This keeps personal contact details private while maintaining professional accessibility—especially useful for speakers and sponsors who field dozens of inquiries after conferences.
QR codes on badges enable opt-in data sharing. Attendees scan each other’s badges to exchange details, which logs the interaction in your event platform. You end up with a contact graph showing who networked with whom. Use this for targeted follow-up: if two people scanned each other’s badges, send them a “great to meet you” email with links to shared resources or upcoming events in their interest area.
Email remains the primary channel for post-event surveys and content distribution. Send the first follow-up within 24 hours while the event is still fresh. Include session recordings (if applicable), speaker slides, and a short survey—keep it under five questions. Response rates drop 40% after 48 hours. For VIP attendees or high-value leads, schedule one-to-one calls within the week. Badge data tells you who stayed for which sessions, so your sales team knows exactly what topics resonated.
Frequently Asked Questions
Q: Can I print badges in advance or do I need on-demand printing?
Print in advance for small events under 50 people where you have finalized attendee lists 48 hours beforehand. For anything larger or where late registrations are common, on-demand printing is essential. Running 300-person conferences where 25% of attendees registered the morning of the event makes pre-printing impractical. The break-even point is roughly 75 attendees: below that, batch printing the night before saves time; above it, queue delays make on-demand worth the hardware investment.
Q: What’s the realistic throughput for a single badge printer at check-in?
A Zebra ZC300 or Fargo DTC1250e prints single-sided full-colour badges in 12-15 seconds. Factor in 5-10 seconds per badge for attendee lookup, data confirmation, and handing over the finished card. That’s 20-25 seconds per person, or roughly 150 badges per hour per station under ideal conditions. Reality is closer to 100-120 per hour once you account for reprints, card jams, and attendees who need corrections. For events over 200 people with concentrated arrival times (first 90 minutes), run two stations minimum.
Q: Do I need special software or can I use Microsoft Word mail merge?
Word mail merge works for simple text-only badges printed on paper or adhesive stock using a desktop inkjet. You won’t get barcode generation, photo integration, or dual-sided printing without serious workarounds. For PVC cards on a dedicated card printer, you need proper badge software—the printer drivers require specific data formatting that Word doesn’t handle natively. ID Flow, CardExchange, or even the free software bundled with Zebra printers will save you hours of frustration compared to trying to force Word into this workflow.